
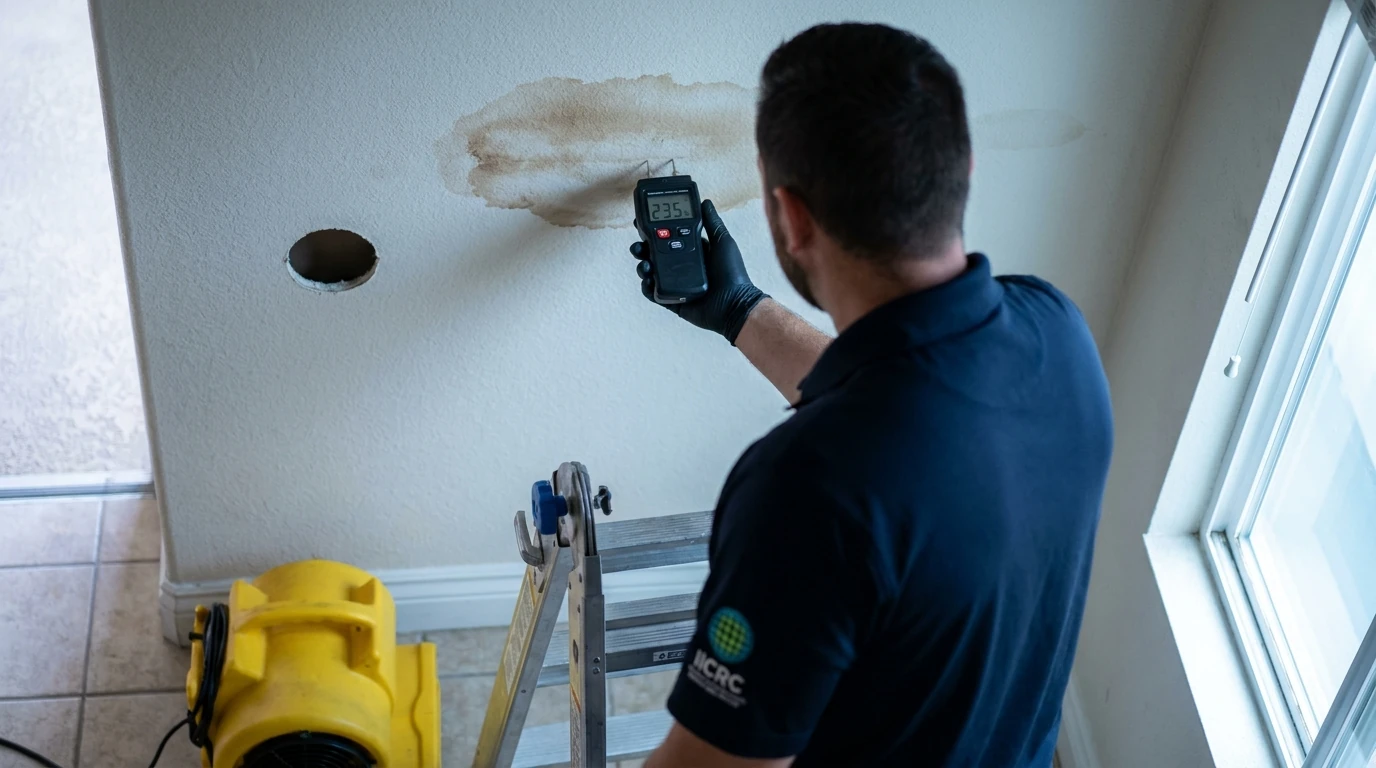
TL;DR: Fixing water damage on a ceiling means three steps in order: stop the water source, dry the cavity completely before any repair, then patch or replace the damaged drywall. A dry, discolored stain with no sagging can often be primed and painted. A soft, sagging, or still-damp ceiling means wet insulation and a hidden leak that needs a professional moisture check before any patch goes on.
If you just spotted a brown ring spreading across your bedroom ceiling in Shadowridge, or a bulge forming near a Downtown Vista bungalow’s bathroom, your first question isn’t paint color. It’s whether the water is still moving behind that drywall. Patch over an active leak and you’re painting a surface while mold builds in the dark. Here’s how to tell the difference and fix it right.
Is the Water Still Active, or Is This Old Damage?
Press the stained area gently with your fingers. If it feels soft, spongy, or gives slightly, there’s still moisture in the drywall or insulation above it, and you need to find the source before you do anything else.
A dry, firm, yellow-brown ring with no give usually means the leak has already been stopped (an old roof leak, a one-time appliance overflow) and the drywall itself has dried out. Tap it: dry, intact drywall sounds solid, not hollow or crumbly.
Fresh staining looks darker at the edges and lighter in the center, almost like a coffee ring, because water pushes mineral deposits and tannins outward as it spreads. Older stains tend to be uniform, slightly yellowed, and flat. If you’re not sure, a moisture meter reading (a tool any restoration crew carries) gives you a real number instead of a guess.
How Do You Find and Stop the Source Before Repairing the Ceiling?
You trace the stain back to its highest point, because water travels along joists and runs downhill before it shows up on your ceiling. The stain on the drywall is rarely directly below the leak.
Common sources above a ceiling stain: a second-floor bathroom supply line or toilet flange, an HVAC condensate line that’s clogged, a roof flashing failure around a vent pipe, or in older Vista homes near Buena Creek, a worn washing machine supply hose on an upper floor. Shut off the water to that fixture or the main if you can’t isolate it, and check the attic or the floor above for the actual point of entry.
If the source is roof-related, you’ll likely need it inspected during or right after a rain event to actually see where water is getting in. Don’t repair the ceiling until the leak is confirmed stopped. A patched ceiling over an unresolved leak just hides the next failure until it’s bigger.
How Do You Dry the Ceiling Cavity Before Patching?
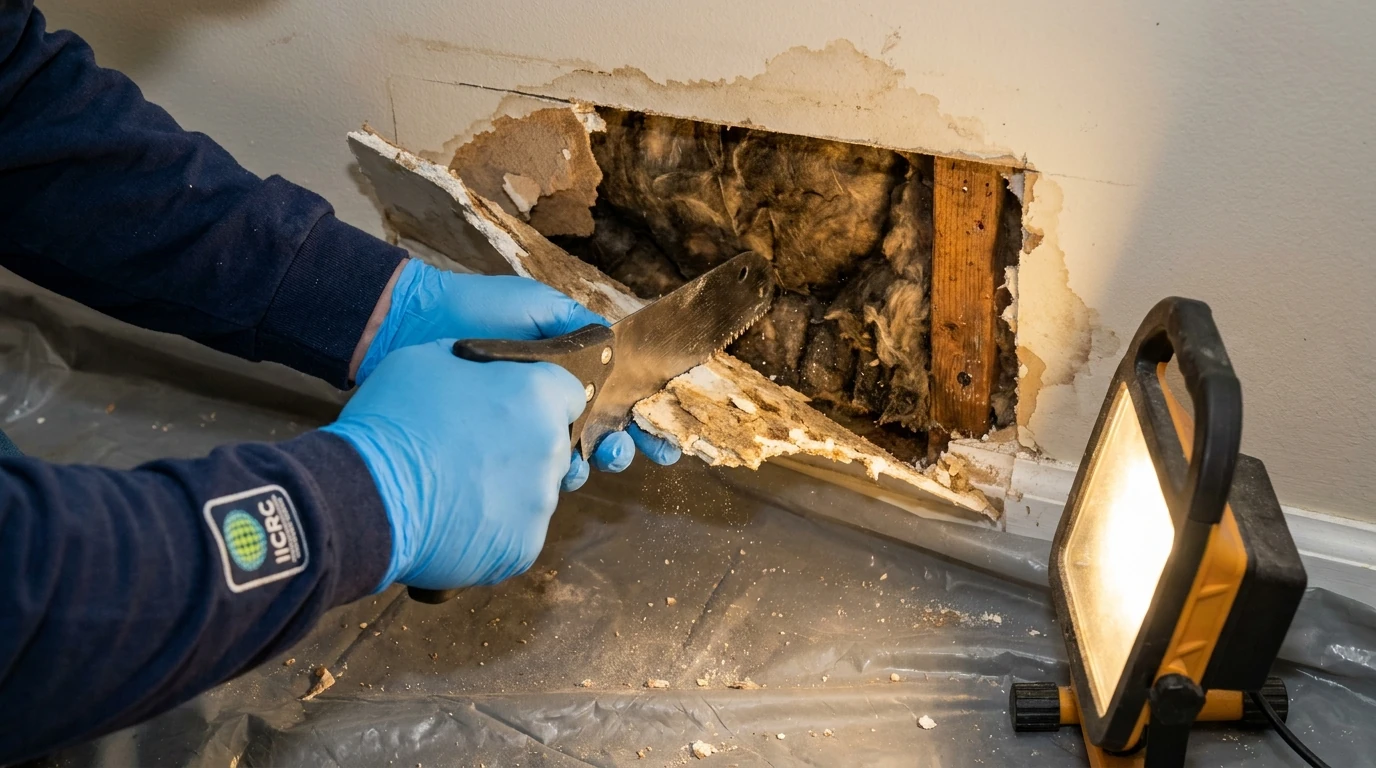
The cavity above the ceiling, including any wet insulation, needs to read dry on a moisture meter before drywall goes back up, not just dry to the touch on the surface. Surface-dry drywall can still have soaked insulation or framing behind it.
For a small, contained stain (say, under 2 square feet, caught early), opening a small inspection hole and running an air mover or fan into the cavity for 24 to 48 hours is often enough. Insulation that got wet and has since dried without mold growth can sometimes stay in place; insulation that was saturated for more than 48 hours usually needs to be removed and replaced, since wet fiberglass or cellulose loses its R-value and holds moisture against the drywall.
For anything larger, or if you can’t get a moisture meter reading below the material’s dry standard, that’s when it makes sense to bring in a crew with professional drying equipment: LGR dehumidifiers and air movers set up to dry the structure to the IICRC S500 standard, the industry benchmark for water damage restoration. Our blog post on how long restoration actually takes walks through typical drying timelines if you’re wondering what to expect.
When Is It a Simple Patch vs. a Full Ceiling Repair?
A small, dry, cosmetic stain with no sagging usually just needs a stain-blocking primer and paint, no drywall replacement required. Anything soft, bulging, or still reading wet needs the damaged section cut out and replaced.
For a cosmetic-only stain: clean the area, apply an oil-based or shellac-based stain-blocking primer (regular paint alone will let the stain bleed through), then topcoat to match. This is a weekend DIY job.
For structural damage: cut out drywall back to solid, dry material (usually to the nearest joist for a clean seam), replace any wet insulation, install new drywall, tape, mud, sand, texture-match, and paint. If the ceiling has any sag or the paper facing has delaminated from the gypsum core, that section has lost structural integrity and has to come out, there’s no saving it with paint.
A ceiling stain larger than a dinner plate, one that’s recurred more than once, or one near electrical fixtures (recessed lighting, a ceiling fan box) is worth a professional look before you touch it. Water near wiring is a safety issue, not just a cosmetic one.
What Should You Do Next?
If the stain is small, dry, and the source is confirmed stopped, prime and paint it yourself this weekend. If it’s soft, sagging, recurring, or you can’t confirm the cavity is fully dry, get a moisture assessment before you patch anything.
That’s where water damage restoration and general contracting work together: one team confirms the structure is actually dry with documented moisture readings (useful if you end up filing an insurance claim), and the same company can then cut out, frame, and finish the repair without you coordinating two separate contractors. If you’re dealing with a recurring leak and want a second opinion on whether insurance should be involved, our post on what homeowners insurance actually covers for water damage is a good next read.
We’ve written before about the first 24 hours after water damage if this ceiling stain is part of a bigger, fresher loss. Either way, don’t paint over a question mark. Call Dry 1 Out Restoration and Construction at (888) 379-1688 for a moisture assessment if you’re not sure whether that ceiling is actually dry.
About Dry 1 Out Restoration and Construction
Dry 1 Out Restoration and Construction is an IICRC Certified Firm serving Vista, CA and surrounding North County and Bay Area communities, licensed under California contractor license #993442. The company’s technicians hold IICRC credentials in water restoration (WRT), structural drying (ASD), mold remediation (AMRT), and fire and smoke restoration (FSRT), and the crew handles both the mitigation side of a water loss and the drywall and reconstruction repair that follows, under one roof.