
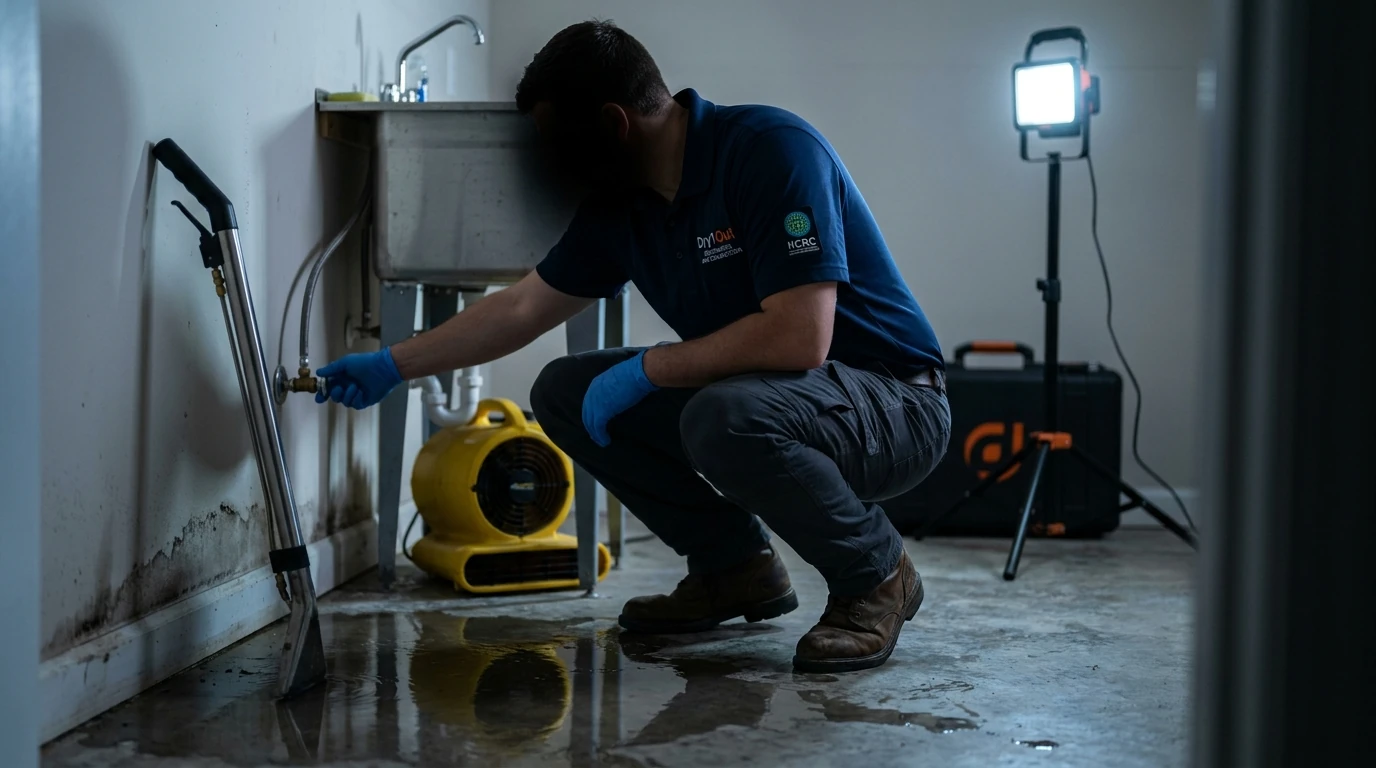
A burst pipe can dump gallons of water into your home every minute, so the first priority is stopping the source, not mopping up. Shut off your main water valve immediately, then kill power to any affected area if water is near outlets or fixtures. Once the flow stops, your focus shifts to limiting water contact with flooring, drywall, and belongings until help arrives. The faster you move through these steps, the less water has a chance to soak into subfloor, insulation, and framing where it becomes much harder to dry out.
What a Burst Pipe Actually Looks Like
A burst pipe doesn’t always announce itself with a dramatic spray. Sometimes it’s a damp patch spreading across a ceiling, a baseboard that’s suddenly soft to the touch, or a hissing sound behind a wall that gets louder when you run water elsewhere in the house. In Vista’s older homes with original copper supply lines, pinhole leaks from age and mineral buildup are common, and they tend to show up first as a small stain that keeps growing rather than a sudden flood. Newer construction with PEX or PVC is more likely to fail at a fitting or connection point, often where a washing machine, water heater, or dishwasher line ties in. If you’re dealing with a leak at an appliance connection rather than a supply line in a wall, the response steps are similar but the fix is usually simpler.
Immediate Steps: First 30 Minutes
- Shut off the main water valve. It’s usually near the water meter, in a garage, basement, or utility closet. Turn it clockwise until it stops.
- Cut power to the area if water is near anything electrical. Don’t step into standing water to reach a breaker panel, call an electrician or Dry 1 Out if you’re not sure it’s safe.
- Contain what you can. Towels, buckets, and a wet/dry shop vac buy you time before professional extraction equipment arrives.
- Move furniture and belongings off wet flooring. Even a short soak can wick moisture into wood legs and upholstery.
- Open cabinets and closets near the leak so air can start circulating around wet surfaces.
- Photograph everything before you start cleanup. Wet carpet, swollen baseboards, water lines on walls, this documentation matters for your insurance claim later.
- Call your insurance company to start the claim and ask what documentation they need.
What Not to Do
- Don’t wait to see if it dries on its own. Water behind drywall or under flooring can look dry at the surface while the material underneath stays saturated for days, and that’s exactly the window mold needs to start colonizing, often within 24 to 48 hours in a humid environment.
- Don’t run a space heater or fan blindly into a wet wall cavity hoping to speed things up. Without proper airflow and dehumidification, you can push moisture deeper into the structure instead of pulling it out.
- Don’t throw out soaked drywall, carpet, or insulation before documenting it. Insurance adjusters often want to see the damage, and demolition before assessment can complicate a claim.
- Don’t ignore a musty smell that lingers after the visible water is gone. That’s usually a sign moisture is still trapped somewhere you can’t see.
- Don’t use household bleach as your only response to standing water. It won’t address moisture trapped in porous materials and isn’t a substitute for proper extraction and drying.
When to Call a Professional
If the water has touched drywall, flooring, cabinetry, or insulation, that’s generally the point where a homeowner’s shop vac and box fans stop being enough. Water migrates sideways under flooring and up inside wall cavities far beyond where it’s visible, which is why professional water damage restoration relies on moisture meters and thermal imaging to find out how far the damage actually spread before drying equipment gets placed. A professional response also typically includes industrial air movers and dehumidifiers set up to dry the structure per the IICRC S500 standard, which governs how water losses should be assessed and dried. If your situation involves a failed appliance line rather than a wall or slab leak, appliance leak cleanup follows a similar extraction and drying process but usually involves a smaller, more contained area. Either way, call Dry 1 Out Restoration and Construction at (888) 379-1688 to get a technician scheduled and start the process while you’re still working through the shutoff and containment steps.
The Recovery Process After the Water Stops
Once the active leak is under control, recovery happens in phases. First comes extraction, pulling standing water out of flooring, carpet padding, and any low spots where it pooled. Next is structural drying, where air movers and dehumidifiers run for several days to bring moisture content in wood framing, subfloor, and drywall back down to a safe range, this is checked with moisture meters rather than guessed by feel or smell. Materials that can’t be dried, like saturated drywall or warped laminate, get removed at this stage. Finally comes reconstruction: replacing drywall, flooring, baseboards, or cabinetry that didn’t survive the water exposure. The timeline varies with how much water was involved and how long it sat before drying started, but a home with the leak caught early and dried promptly recovers faster and with less demolition than one where the water sat for days unnoticed.
If you’re standing in a Vista home right now with water on the floor, shut off the main valve, call (888) 379-1688, and start containment while you wait. Acting in the first hour matters more than almost anything else in how much of your home you keep versus how much needs to be rebuilt.